Experiment: Advanced NeuroProsthetics: Take Someone's Free Will
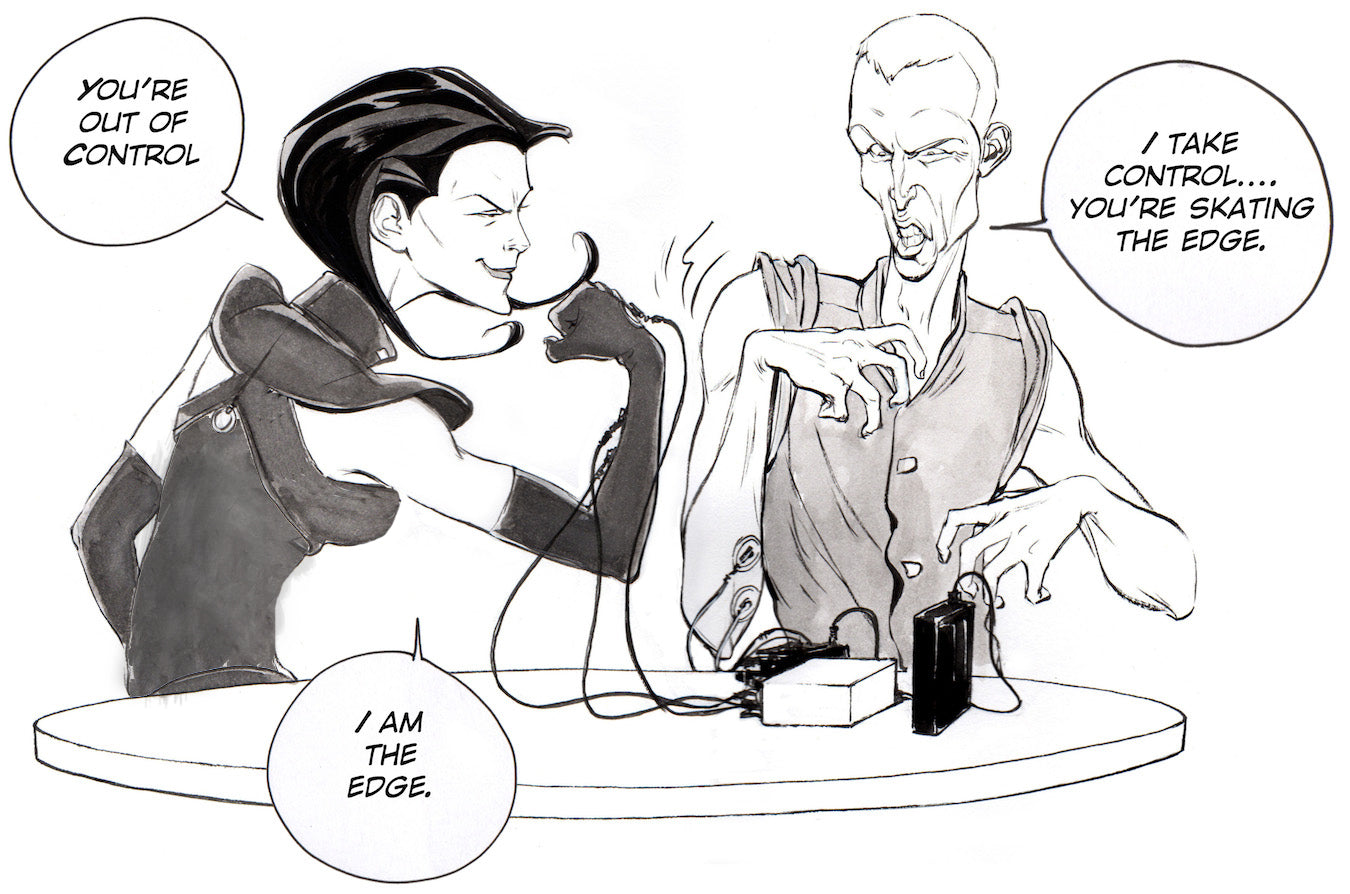
Have you ever had the desire to lose your free will? Or, alternatively, have you ever had the desire to take someone's free will? Now you can with our new "Human-Human-Interface Experiment."
What will you learn?
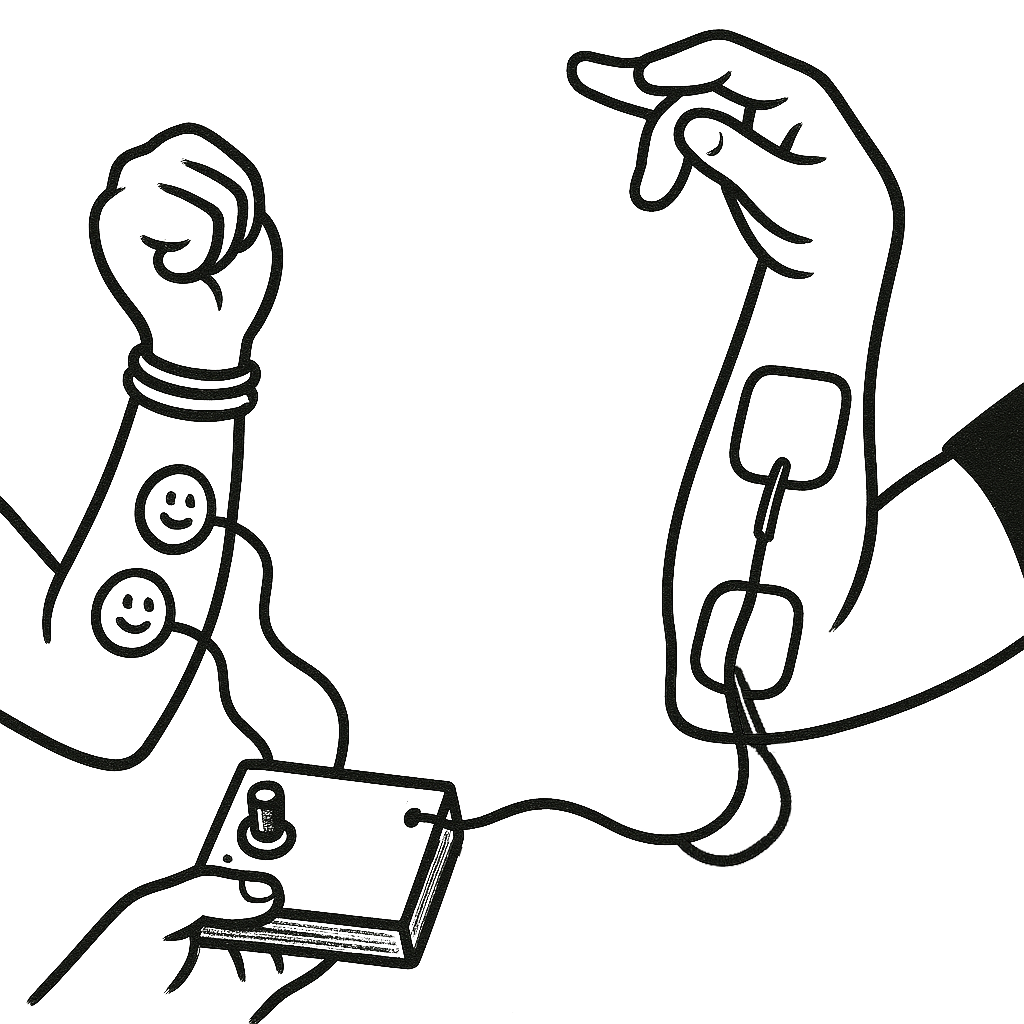
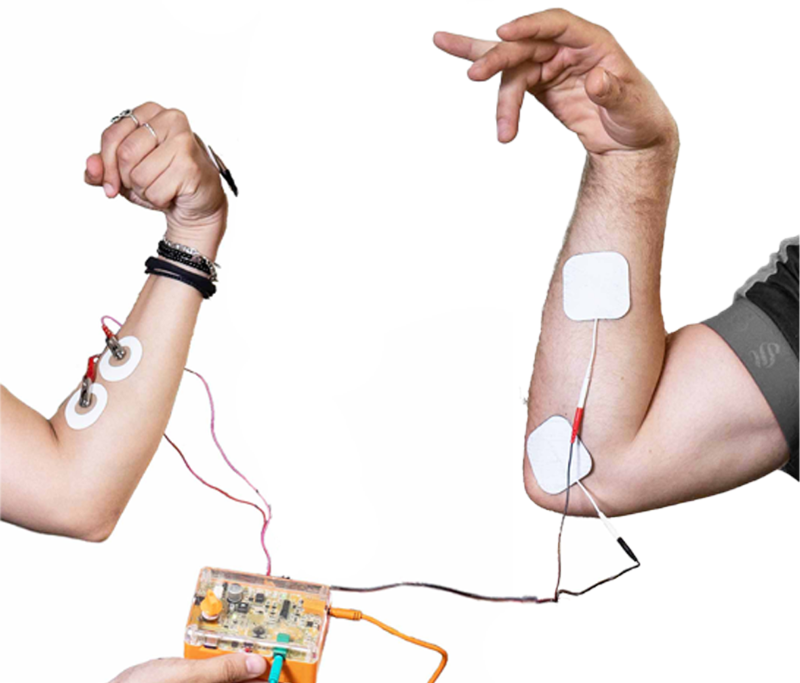
In a continuation of our 1) Neuroprosthetics Experiment and 2) Muscle SpikerShield Experiment, you will learn how to use your muscle signal to control other devices, in this case, a TENS (transcutaneous electrical nerve stimulator) to excite and contract the muscle of another human.
Prerequisite Labs
- Muscle SpikerShield - You should become familiar with how to use your Muscle SpikerShield and an Arduino
Equipment
Background
Note: A TENS unit by definition delivers enough current to cause muscle contraction. Do not place electrodes across the muscles of the throat or the chest. This experiment is appropriate for college students. Adult supervision is needed for younger (high school) users.
We have previously discussed "neuroprosthetics," that is, designing a machine that interfaces with living neurons to control a device or for sensory substitution. But what about muscles? If people have damage to their spinal nerves, the muscles themselves can be stimulated, and this line of research is called "functional electrical stimulation."
For example, functional electrical stimulation can often be used to help someone stand up, or to improve walking by helping to swing a foot forward.
In addition, if someone has an artificial limb, such as a robotic arm, they can use the electrical activity generated by the electromyographic signals in their pectoral muscles to control the motors and control systems in the robotic arm. A notable example is Jesse Sullivan, who lost his arms during an electrical installation. There is also a company called RSLSTEEPER that has developed a bionic arm called the "bebionic3" which functions on very similar principles, but uses muscular activity in the amputee's stump to control the wrist and hand movements.
Relation to RoboRoach
Fans of the RoboRoach have often asked us: "When will you get this working on humans?" We responded and solved this customer request by launching our "Society" invention. But many people were left unsatisfied. They wanted something more direct.
On the other hand, critics of the RoboRoach have often asked us: "How would you like it if someone controlled you with electrical stimulation?" Now, after months in the research lab, we finally now have the answer, and it is...
"...it depends.""
If you like who is controlling you, the feeling can be quite nice.
Downloads
Your HHI arduino comes pre-loaded with the HHI code. If you use your arduino for other projects, if you accidentally press the reset button, or would like to adjust the thresholds, you will have to re-upload the code! You can do this with the Arduino software. If you are new to Arduino and need to learn how to upload code, check out this helpful guide
Download our Arduino(.ino) Human-Human-Interface Sketch. Check out the comments for some insight into how it works! (You can also use this code for the Claw experiment!)
Video
Print Materials
If you're looking for a PDF to print and scribble on, or a google doc to edit, check out this repository of print resources here!
Experimental Procedure
Set Up
The Controller
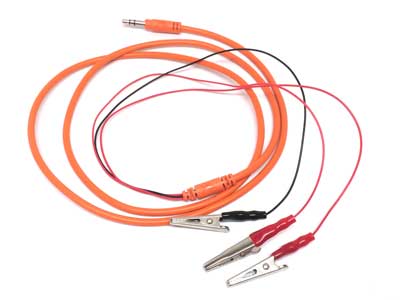
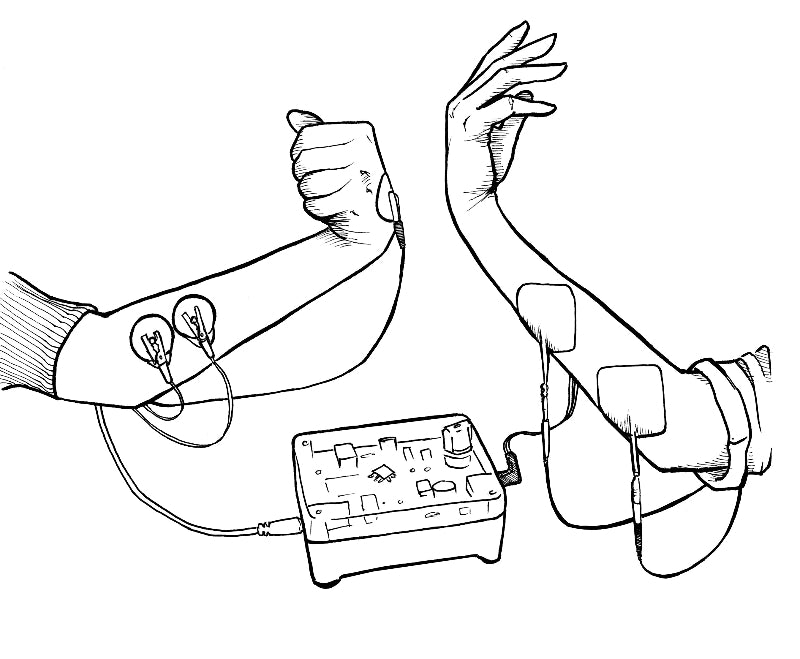
- Plug the orange electrode cable into the SpikerShield.
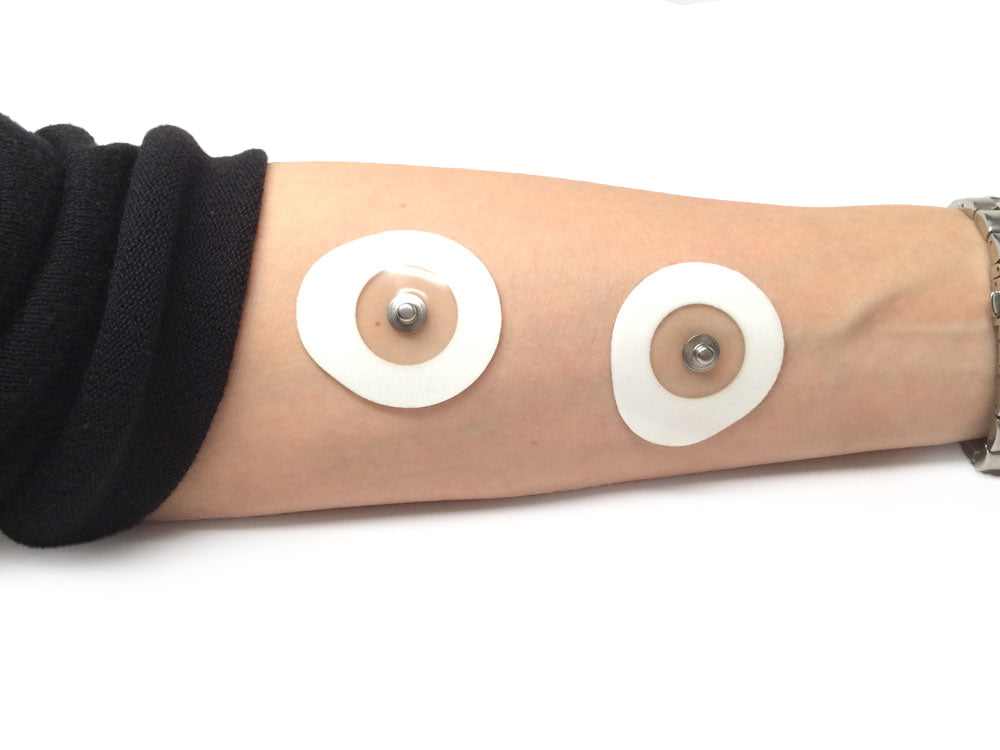
- Place two EMG electrodes on the forearm, one on the back of the hand, and clip on the EMG cables using the alligator clips. Reds on the forearm muscle and black on the back of the hand.
- Now, have the controller flex their forearm muscles. With a sufficient strong flex, your controller should be able to light up all the LEDs, just like the wholesale paper cup Muscle SpikerShield experiment.
**Note** Press the white button directly below the LEDs to change the sensitivity level to make it easier or harder to light up the LEDs.
Now you are ready to hook up the "Controlled Human."
The Controlled- First, you need to set the frequency of the TENS device by sliding down the front face of the black TENS device: we set a ~50-80 ms pulse duration and a 10-20 Hz frequency.
- Place two surface EMG electrodes close to each other across the ulnar nerve. The nerve runs up the back of your forearm. We recommend placing the electrodes just past the elbow on the backside of the forearm, but you can experiment with placement! Anywhere on the forearm will probably incite a response...
- Plug the Tens cables male header pins into the Muscle SpikerShield Stimulator output.
- The TENS device included with the HHI has two channels, but we'll only be using one. Take note of which side you plug your cable into; you will use the knob on that same side to control the gain, or power, that the TENS device will output.
- Now, begin with the TENS device turned onto the lowest setting and have your controller flex. When they light up the red LEDs, the circuit will trigger and the TENS device will send stimulation to the Controlled subject! But... at this super low setting, you probably won't see a reaction
- Have the Controller keep flexing, and slowly begin to turn up the power of the TENS device until you see a response. We typically see responses around settings 3-5.
- Enjoy! The controller has complete and total power of the controlled's arm... For now...
- To disarm the experiment, first turn off the TENS device totally. Then have the Controller remove their electrodes, and finally, free the controlled from their clips.
- **Important** If the Controller pulls their electrodes off before the TENS device is turned off, or the controlled is set free, it will cause the circuit to short and constantly send stimulation to the controlled. Avoid this!
Happy hacking! Let us know what you connect your EMG signals to! Let your creative mind flow and invent.
Common Questions
We receive a lot of questions regarding this experiment, and we collect some of the most common.
Troubleshooting
If your device is not working, try these solutions first!