
-
 Accessories

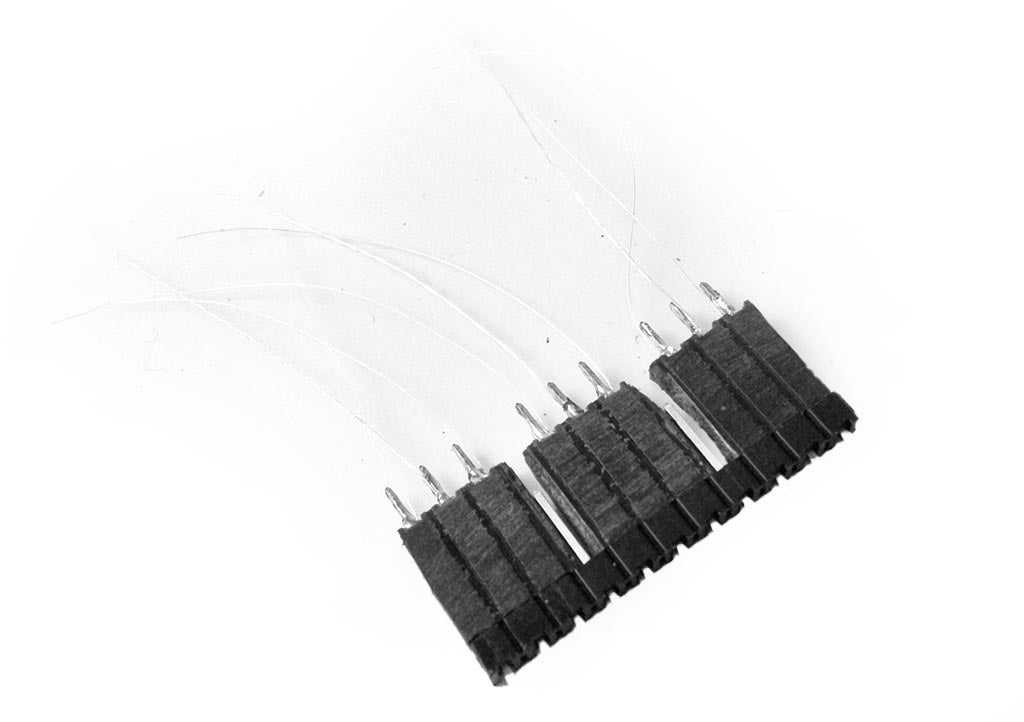
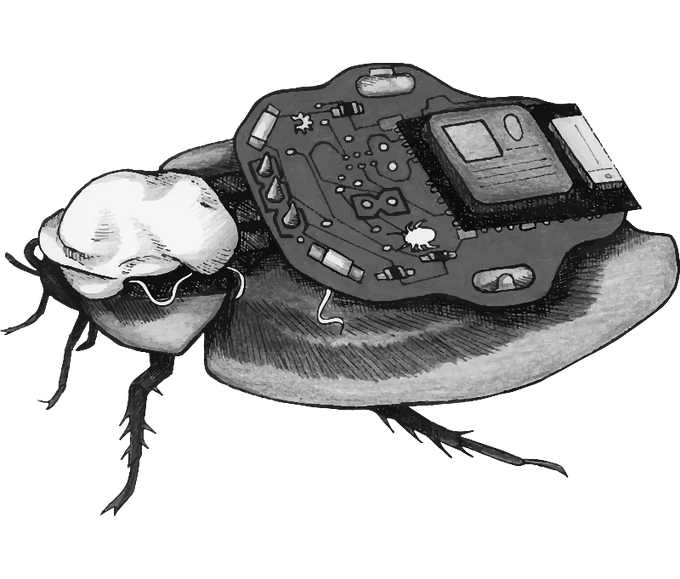
RoboRoach Electrodes
Have you used all of your RoboRoach electrodes, but still want to do more experiments? Luckily, we have you covered with our set of affordable replacement electrodes.
Each order will ship with a set of three replacement electrodes so you can continue your RoboRoach experiments!
Qty
$28.00
In stock
- More Experiments
-
- 3x RoboRoach Electrodes

-
-

App
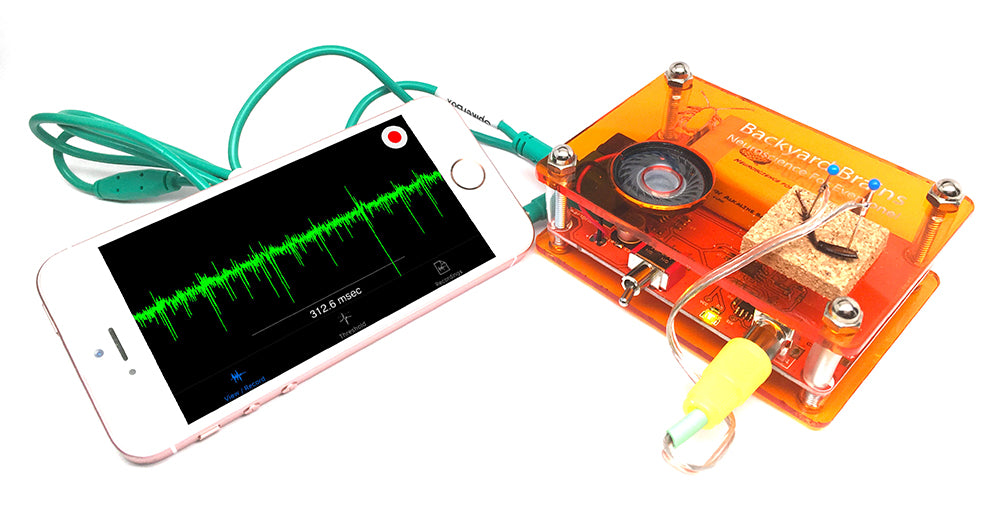
BYB Spike Recorder
-
-

Schematic
-


Find Accessories
Try these products to boost your brain power even further!